
I have decided to try building a website with Framer… I’m a WordPress developer with over 14 years of experience in the game (it’s why this site is built in WP), and recently, I came across a new website builder called Framer, which offered a simple, no code solution to building websites, and I’m really impressed with what I’ve experienced so far.
As someone who has spent countless hours working with WordPress and building WordPress themes and plugins, I was intrigued by the idea of a new tool that promised to make website development faster and easier for anyone wanting to build a personal or business website.
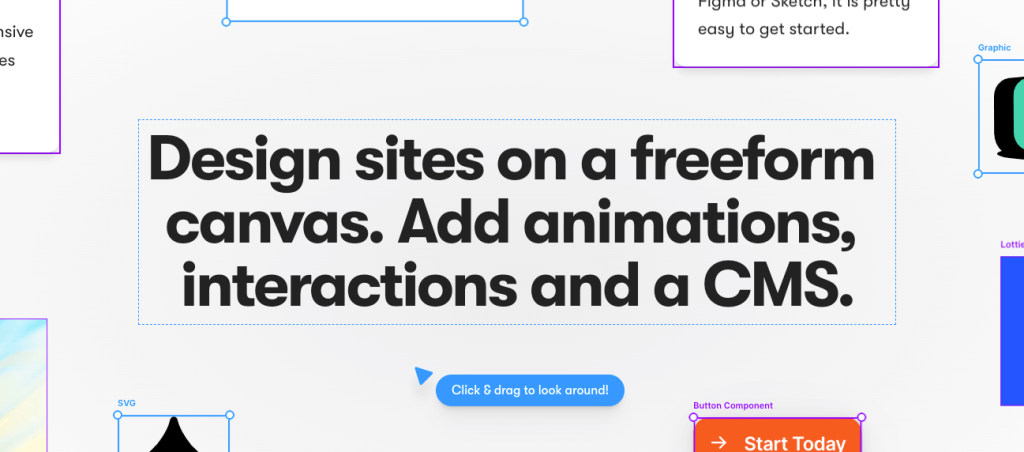
What I really like about Framer is that it allows me to easily create beautiful, interactive websites without needing to know how to add or edit any code at all. The drag-and-drop interface is very intuitive and easy to use… it is hard to create a ‘bad’ design when using Framer as it offers the perfect amount of options when building your design, and there are plenty of customizable styling options to help you get the exact look that you want.
So…
What is Framer?
Framer is a website builder that allows designers to create interactive and responsive websites without needing to write any code. It provides a drag-and-drop interface that allows designers to create and customize their websites using pre-built design elements, such as buttons, text boxes, and images.
Framer offers a wide range of templates, page sections and different elements that you can use as a starting point for your different pages, speeding up your process of building a website.
Within the Site Settings section, you can also add or customize your social share images, view your website analytics, or even add your own custom code if you know what you’re doing… Plus, in addition to its website building features, Framer also includes collaboration tools that allow multiple designers to work together on website projects in real-time.
You can very easily Publish your website in one click to your own Framer url, or purchase your own domain name and Publish your website to your domain.
How to start building a website with Framer
It’s simple to get started building a website with Framer. Below we’ll explain the steps to getting setup and started with Framer, with links to more in-depth articles explaining more on each section.
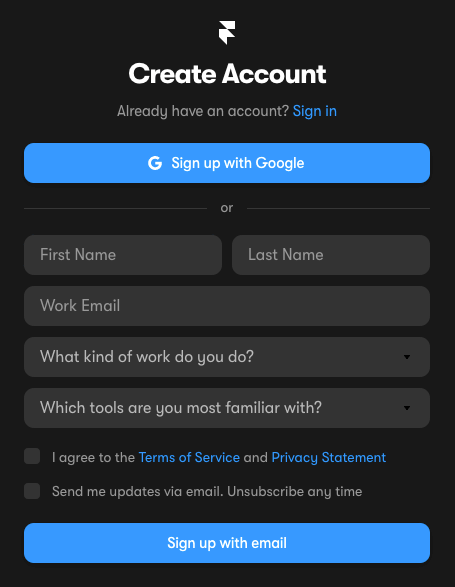
1) Sign up at the Framer website
Simply go to Framer and sign up with your email address (or using a Google Account), enter the required details, and then activate your account from the confirmation email you will receive shortly after signing up.
2) Get started learning Framer
Now you have an account and are ready to start building a website with Framer.
Within your account page, you can view all your current projects, select to start a new project, follow the video links to learn how to use Framer, and more. You can also view the offered templates listed on Framer and duplicate any of them to start using as a starting point for your website… Note, some are free templates and some you’d need to pay for.
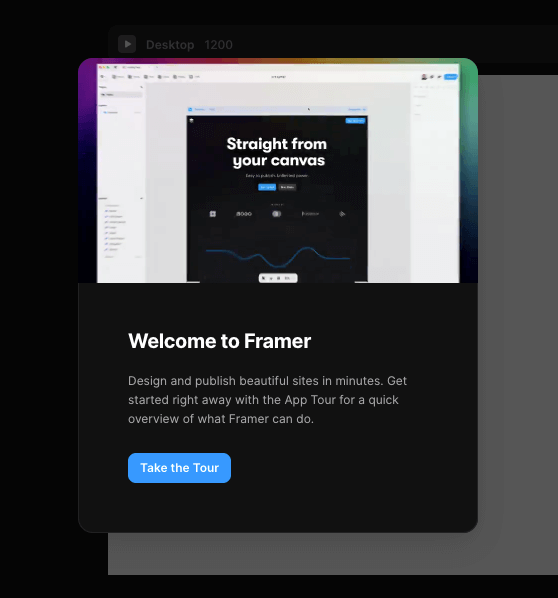
Once you select to to start a new project and Launch Framer, you should see a popup offering to take you on a tour of the canvas you’ll be using to build your website with… We recommend taking the tour as it will give you a good understanding of how you will be building a website with Framer.
2) Build your website using Framer
Framer claims to be lightning fast and completely code free… And it is!
Building a website with Framer might not be lightning fast for the first build, or for first few website builds as you take on the small learning curve of using the Framer canvas and design tools provided, but if you’ve followed this post up to this point, you’ll now notice you’re ready to start building your website and there has been no setup of hosting, domains or anything of the sort yet.
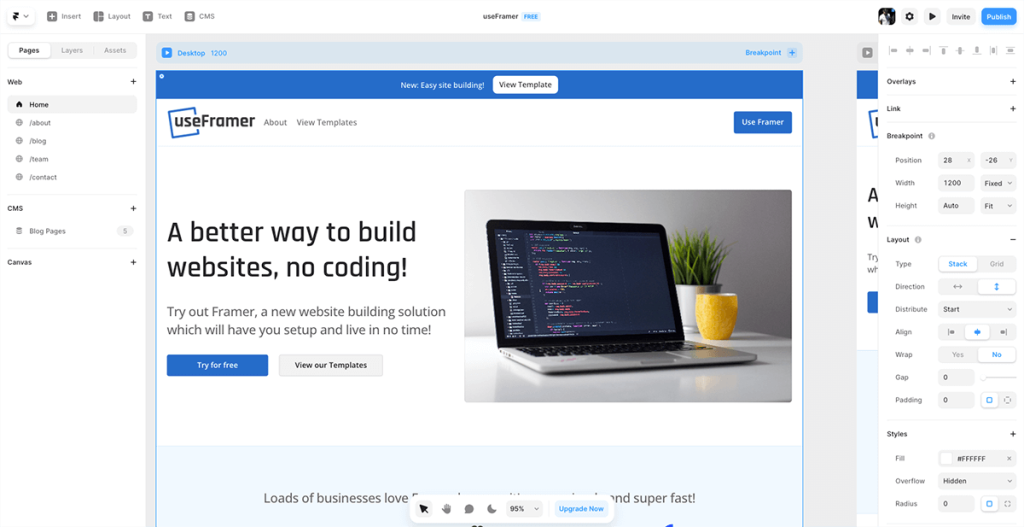
Below is a screenshot of building our first Framer template which we will soon offer on the Framer website templates section.
And… once you’ve finished building your website, it’s a simple click to make your website live… offering you a complete set of tools to design, ship, host, and maintain websites for yourself or for your clients.
3) Edit your Site Settings
Next up you can navigate to the top left Framer icon, open the drop down and go to Site Settings -> Open Settings… Or use the shortcut Shift + ,
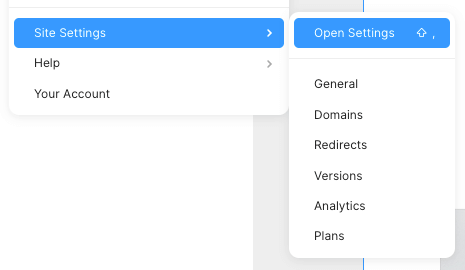
Under the Site Settings you can edit your Site Title & Description, set the site language… Manage your domains and view your Framer website analytics or also add your own Google Analytics.
You can also edit Titles, descriptions and urls per page, as well as add a Social image and description for each page.
Framer Pro offers more functionality such as adding Password Protection to your website, add custom code to your site and/or on a per page level, use a custom domain name, manage any redirects for your website and more.
4) Publish your website with Framer
Once you’re done creating your website using Framer’s drag-and-drop interface and have adjusted your Site Settings… Publishing your website with Framer is easy and straightforward.
To publish your website, simply follow these steps:
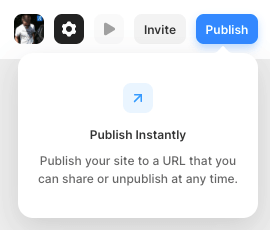
1) Click on the “Publish” button in the top right-hand corner of the Framer interface.
2) Choose a name for your site and select a domain name. You can use a custom domain name that you already own or choose a free subdomain which is provided by Framer.
3) Click on the “Publish” button to make your website live.
Editing your Framer website
You can make changes to your website at any time using Framer’s drag-and-drop interface. You can add new design elements, such as images, text boxes, and buttons, or edit existing ones by resizing, repositioning, or changing their properties and then simply clicking “Publish”.
Editing your Framer website is a flexible and user-friendly process that allows you to create and maintain a professional-looking website with ease.
Or… If you find for some reason you’d like to Unpublish your website for whatever reason, you can simply navigate to Site Settings (Shift + ,) and under the General tab you’ll see the option to Unpublish
